How to make shipping labels at home
You can make shipping labels at home with a 4×6 thermal printer and the free label maker. Design the pack face here. Buy postage from USPS, UPS, FedEx, or a rate tool. We don't sell postage.
Open the free label maker: app.mylabelmaker.com. No signup. Set 4×6, design the ship-to face, print with Browser Print.
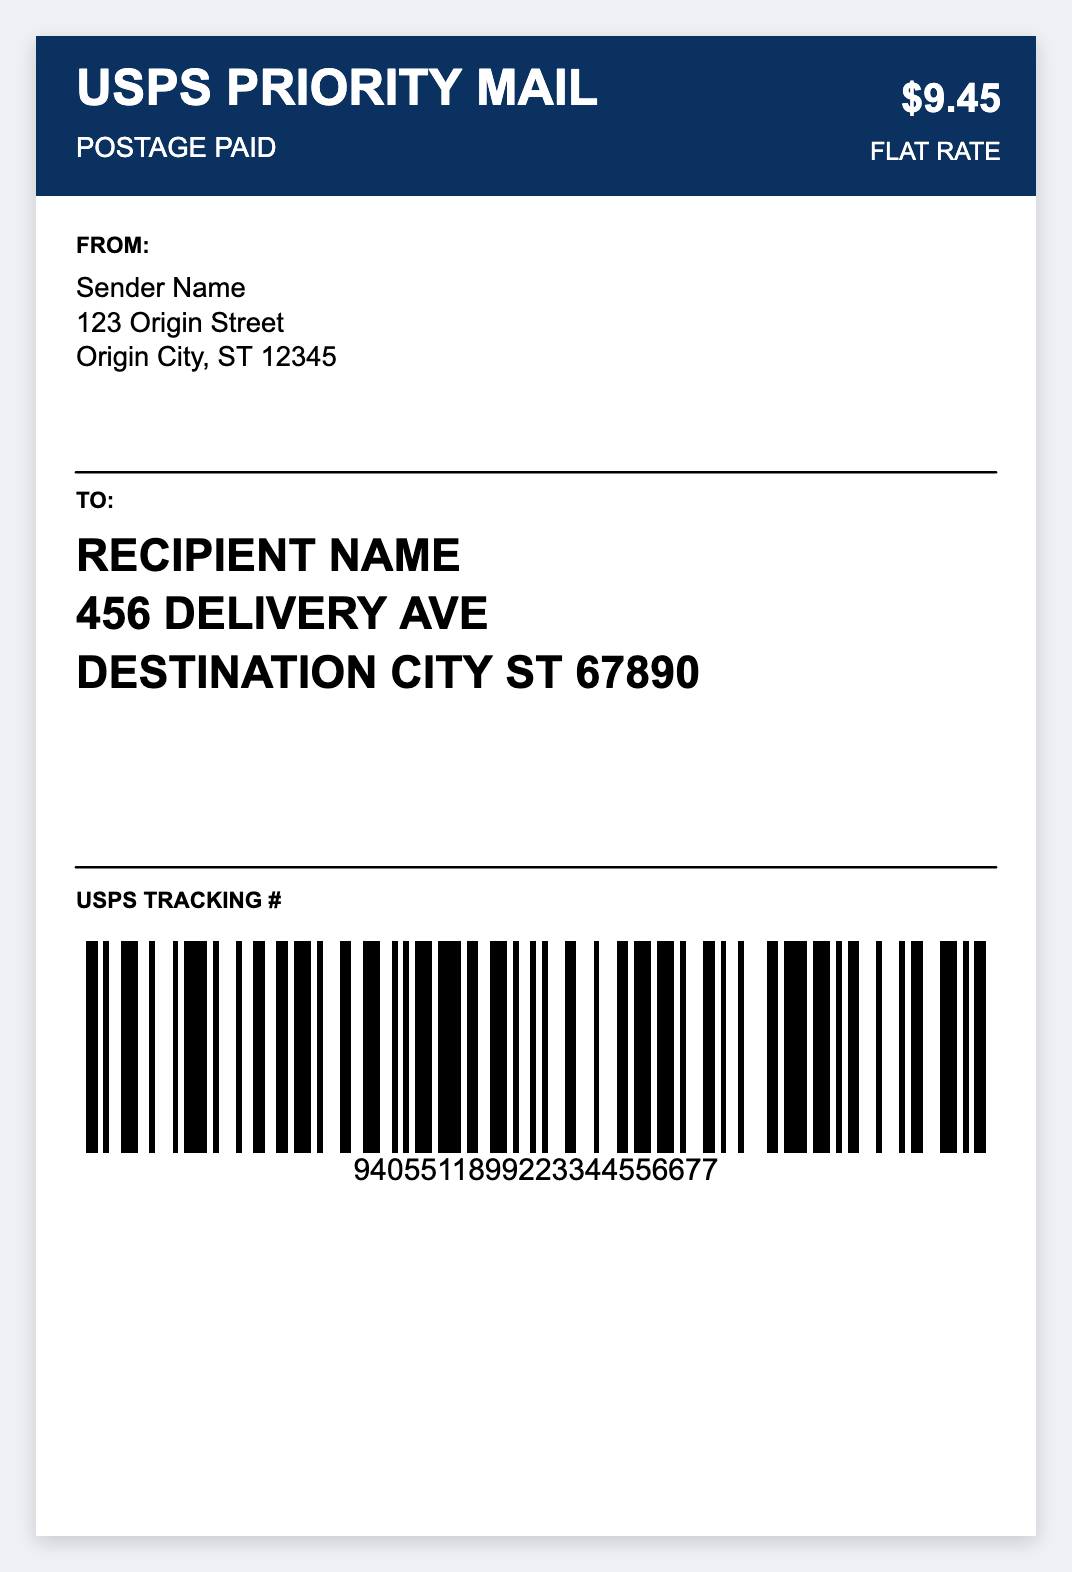
What you need at home
- A 4×6 thermal printer (budget Zebra ZD220/ZD420 or similar), buyer guide
- Direct-thermal 4×6 rolls or fanfold, shop stock
- The free browser designer plus Browser Print
- A rate tool for prepaid postage (Pirate Ship, ShipStation, Shopify, carrier account)
How to make shipping labels at home
- Open the USPS shipping template. No signup.
- Load 4×6 media. How to use a Zebra if you're unboxing.
- Install Browser Print on your home PC or Mac and leave it running.
- Set 4×6 and 203 DPI, unless your unit is 300. Design the ship-to face.
- Print a test. For many orders, export CSV from Etsy, eBay, or Shopify and print the stack.
Marketplaces and carriers
- Etsy & eBay · Shopify
- Pirate Ship / USPS · USPS guide
- UPS · FedEx
- Hub: US sellers · print 4×6
Good to know: Prepaid tracking barcodes come from your carrier or rate tool. Use this app for layouts, addresses, and internal barcodes. Don't forge postage barcodes.
Home desk tips
- Fanfold 4×6 sits on a shelf behind the printer, so you change rolls less often.
- Keep Browser Print running when you open the editor.
- Scan the first label of each batch before a full run.
Make a 4x6 label at home
Design the pack face here. Postage stays with the carrier.
Open USPS shipping template